Si has pensado en el banquito calzador, has acertado. A pesar de estar estupendo, desentonaba totalmente con el resto de la decoración (bueno, como siempre todo es cuestión de gustos; yo cada vez soy más práctica, y consideré mejor integrarlo en el entorno que ser purista y dejarlo “cantando” para acabar teniéndole una tirria horrible).

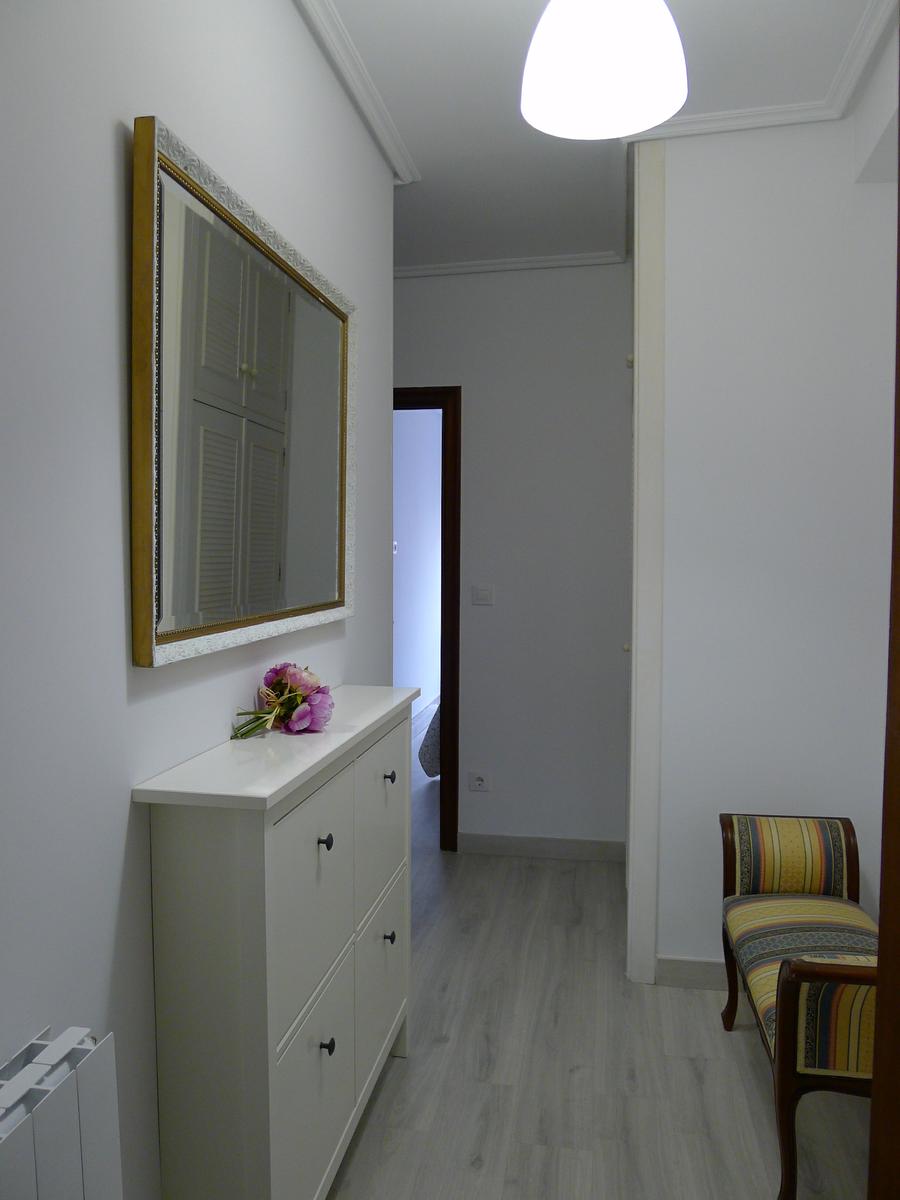
El antes
Así que decidí encontrar una tela en tono gris que combinara con el suelo (aunque por la luz de las fotos no se aprecie mucho) y me lancé a la aventura de la tapicería.
Hubiera quedado muchísimo más integrado pintando la madera en tonos blancos, pero quería conservar parte de su identidad, razón por la cual lo dejé así.
Proceso:
Quitar pasamanería (la tela original cuando no se tiene mucha experiencia y todo está en buen estado, aconsejo no quitarla).
Cubrir con tela gruesa y fijar con grapadora de tapicero.
Pegar la nueva pasamanería con una pistola de silicona caliente.
Si se quiere pintar la madera, se haría entre los pasos 1 y 2. ¡Espero vuestros comentarios, hasta pronto!
Laura

El después

Up-cycled Hall Bench Seat
Today I’m bringing you an attention exercise, what is it that clashes in this hall?
That’s right, the bench seat! Although it was in mint condition, it didn’t match the general look of the place, so I decided to better integrate it, instead of keeping its original pattern (I would end up hating it so much).
I bought some starred grey fabric matching the floor and dived into the upholstery adventure.
I’m positive it would have looked much better had I painted the wood white, but I still wanted to keep part of its identity, so I left it like this.
Steps:
Remove trimmings only (I would remove the upholstery if the bench wasn’t in good condition).
Line with a thick piece of fabric by using an upholstery stapler.
Stick the new trimmings with a hot glue gun.
If you wanted to paint the wooden frame, you’d have to do it between steps 1 and 2. I hope you like it, thanks for reading and see you soon!
Laura
Fuente: este post proviene de mismueblesnuevos, donde puedes consultar el contenido original.
¿Vulnera este post tus derechos? Pincha aquí.
Creado: