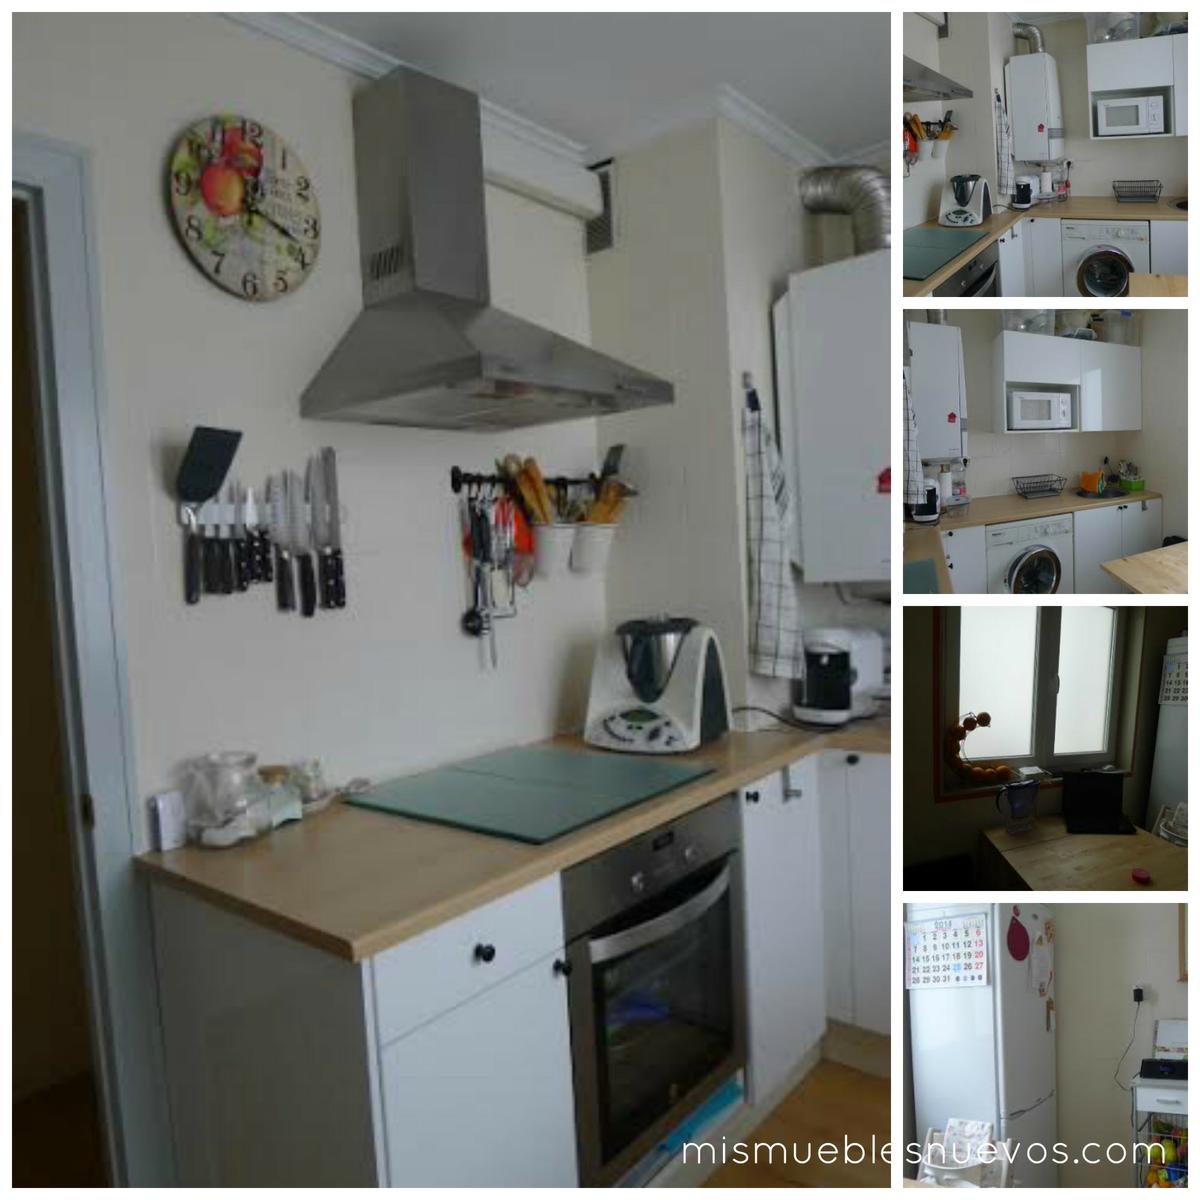
Although the IKEA furniture was in mint condition, the boiler of this kitchen was dying, and that was the reason for the whole transformation: changing from an airtight boiler to a condensing one meant moving it to the opposite wall and also moving the upper cabinets around, making new holes on the 40-year-old tiles.
The owners decided to have everything refurbished because when they bought the flat they found the original wall tiles had been painted over and the floor ones had been covered with laminate flooring (not the most suitable material to endure water and food spills). On top of this, there was little room for storage and just one tiny drawer.
This is the kitchen before remodelling, nice and warm but not too practical:
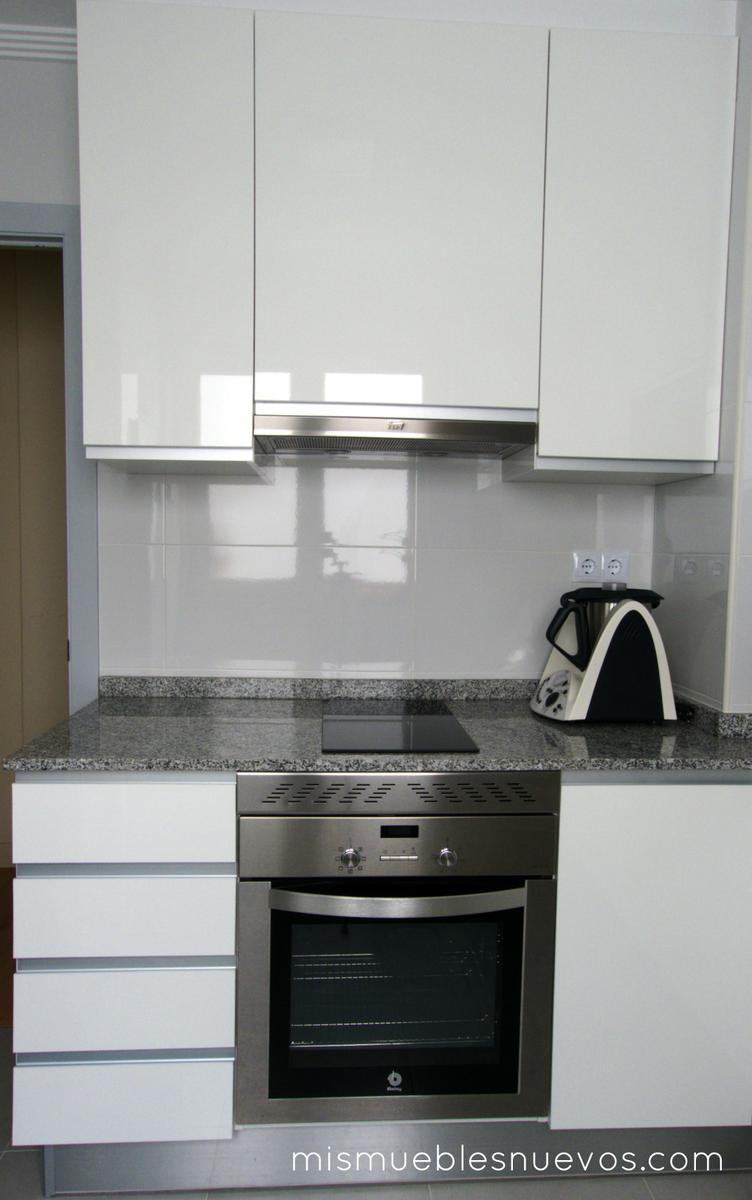
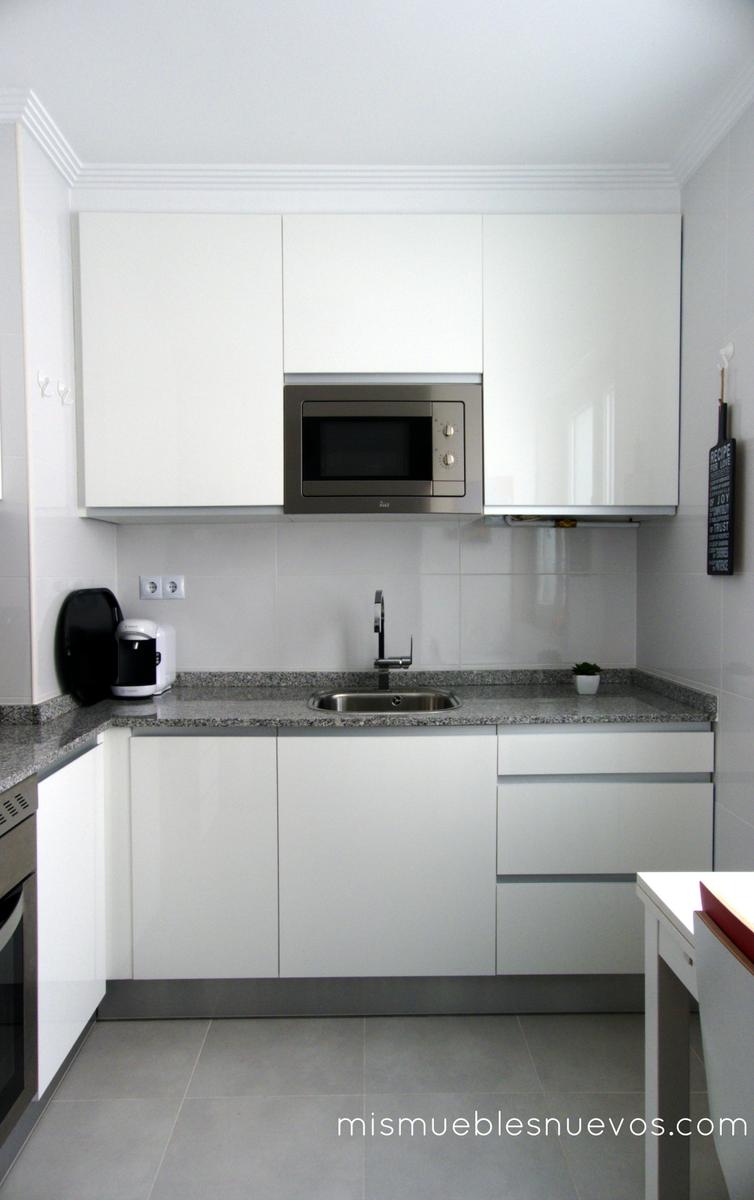
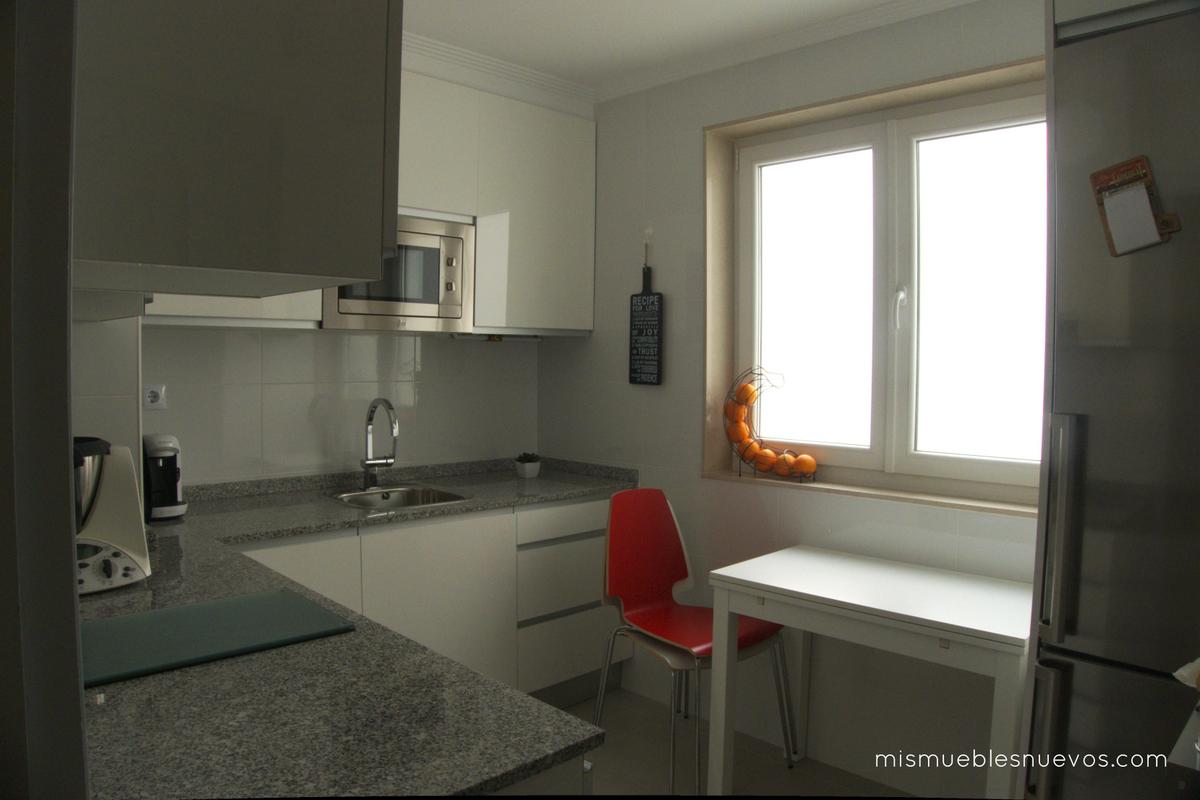
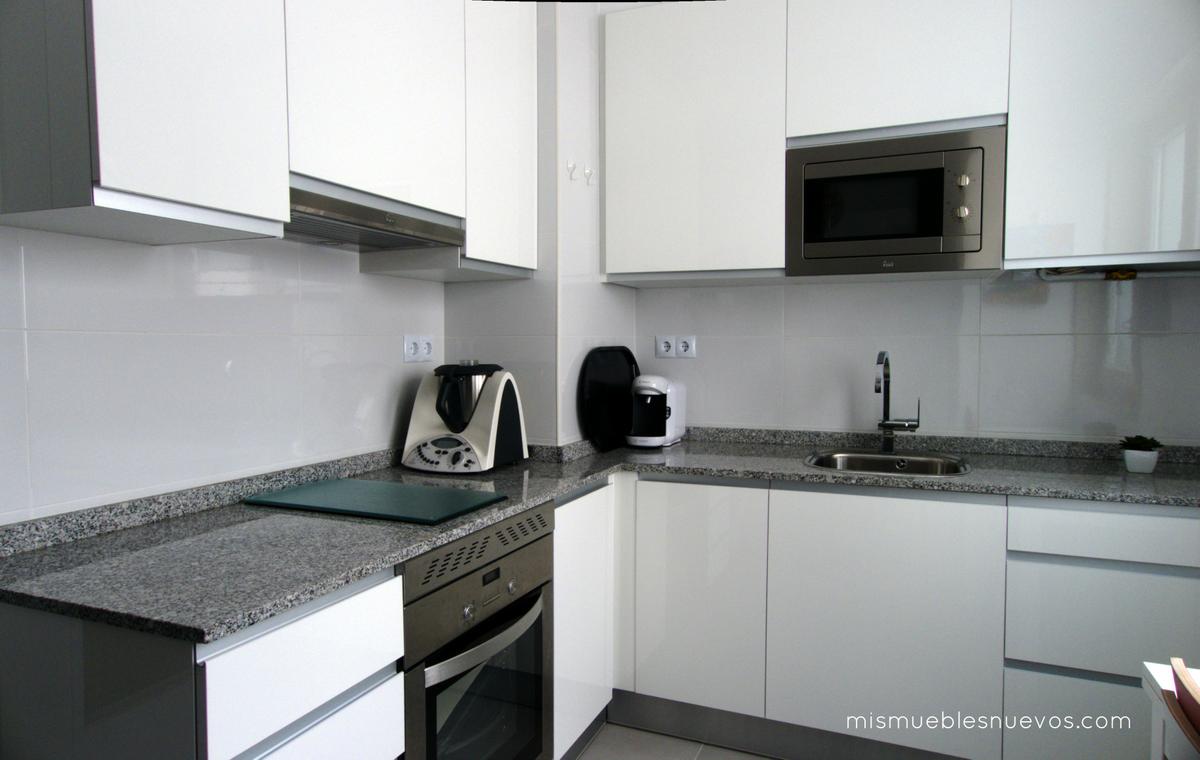
Working areas were quite conditioned by the fume ventilation beam and the wide window, so the layout couldn’t be completely altered. In spite of this, the kitchen gained plenty of storage room without compromising the spacious feeling it had before:
1) By installing a telescopic slide out hood, the whole area over it could be filled with cabinets. It definitely doesn’t look as classy as a chimney extractor hood, but the priority here was storage room.
2) The top cabinets go now to the ceiling with a modern molding finish that keeps dust away.
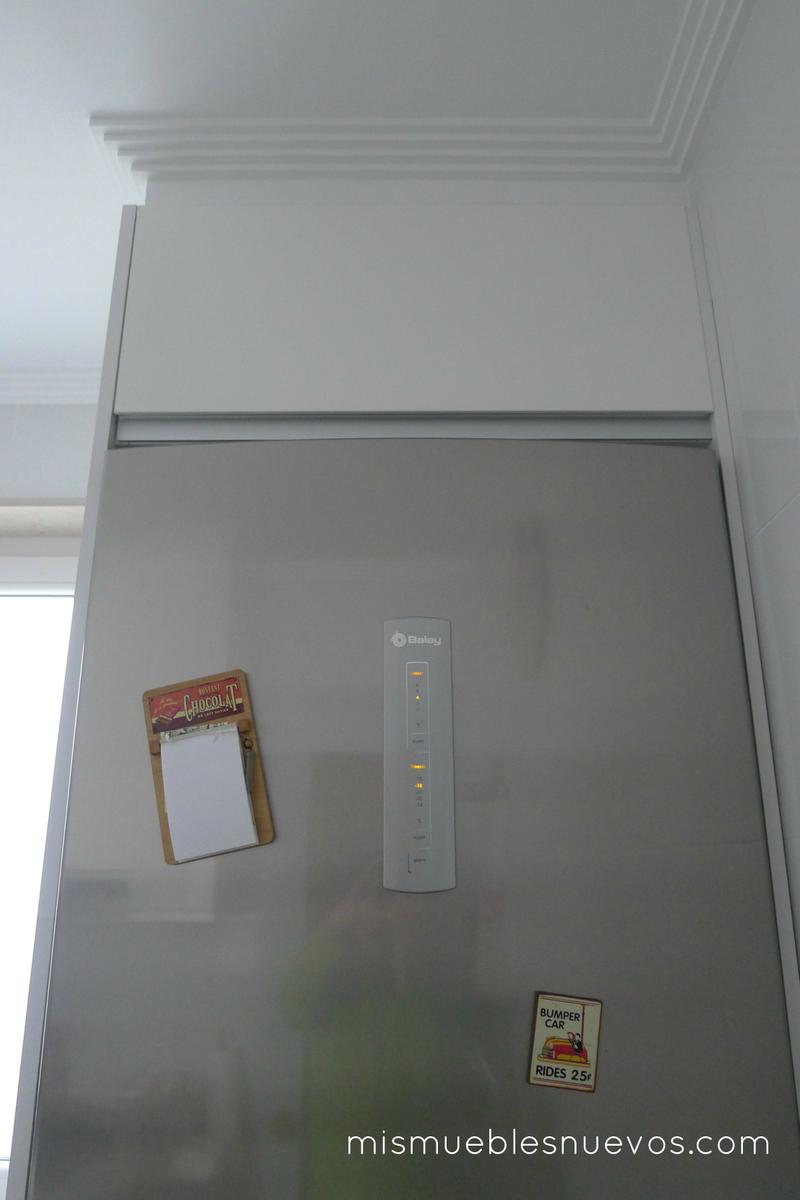
3) The new fridge freezer is not the standard size but 10 cm wider, which makes a big difference in terms of capacity, worth spending a little extra money on!
4) High-gloss white cabinetry makes the light reflect and gives a spacious feeling, which increases when you “take off” the handles and use hidden ones instead. The extendable table is Bjursta by IKEA and the stackable chairs are very comfy (Vilmar, by IKEA too).
So far we’ve presented you with some common storage solutions, but here go the ones that have made the kitchen much more functional:
Magic trick #1: We moved the washing machine out of the kitchen, and placed it on the other side of the wall. That room is an all-purpose room: laundry, larder… By doing this, we got enough room for some drawers, we could move the sink to the middle of the countertop (so much more comfortable!) and we could make a practical cabinet out of the first (left) unit, which was narrow and a real pain before.
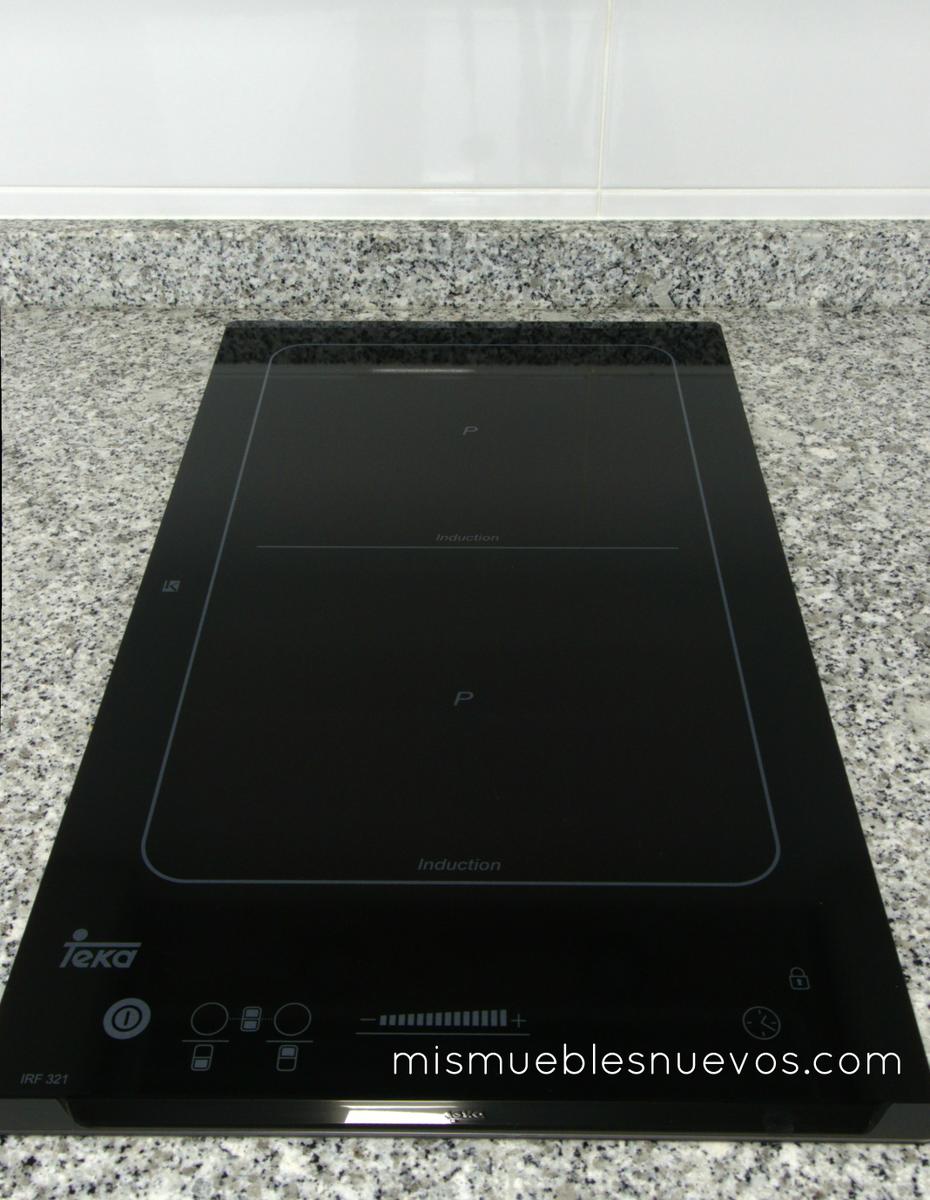
Magic trick #2: Since the owners primarily cook with the Thermomix (R) robot, they didn’t need a whole 4-zone induction cooktop. Instead, a 2-zone flexible one was installed, which reduced the cooktop area by half and allowed a more generous working space on the counter. If you use a cooktop cover, the whole countertop will be yours!
If you’re wondering what happened with the old kitchen, it was completely very carefully dismantled and some friends took it home. The couple of spare cabinets now hang on the garage wall, so everything has been given good use. As for the rest… always to the local waste facilities!
See you!
Laura


